
Source : https://i.ytimg.com
Brick Beauty: How to Install Brick Veneer for a Rustic Look is a comprehensive guide that provides step-by-step instructions on how to install brick veneer to achieve a rustic aesthetic in your home. This guide covers everything from choosing the right type of brick veneer, preparing the installation surface, to the actual process of installation. It is designed to help both novices and experienced DIY enthusiasts to transform their living spaces with the timeless appeal of brick, without the need for professional help.
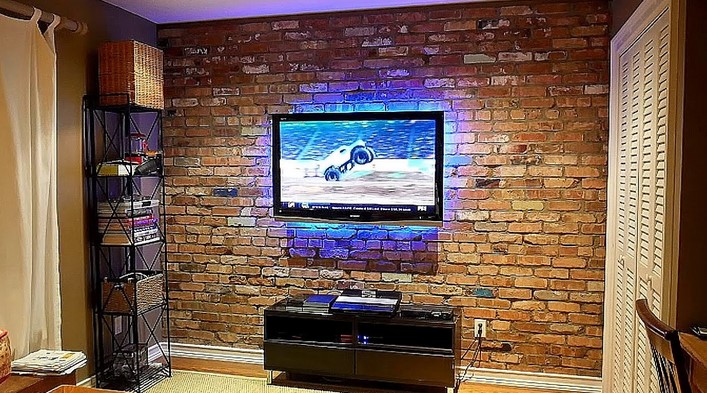
Step-by-Step Guide: How to Install Brick Veneer for a Rustic Look
Brick veneer is a popular choice for homeowners seeking to add a rustic, timeless appeal to their homes. This versatile material can be used to create a variety of looks, from a traditional red brick facade to a more modern, industrial aesthetic. Installing brick veneer is a project that can be tackled by the DIY enthusiast with a bit of patience and the right tools.
To begin, it’s important to understand what brick veneer is. Unlike traditional brick, which is a structural material, brick veneer is a thin, decorative surface layer that mimics the look of solid brick. It’s typically made from clay or other natural materials and is available in a variety of colors and textures.
Before you start installing brick veneer, you’ll need to prepare the surface. This involves cleaning the wall thoroughly to remove any dirt or debris that could interfere with the adhesive. If you’re applying the veneer to a painted surface, you may need to sand it lightly to create a rough texture for the adhesive to grip.
Next, you’ll need to apply a layer of mortar to the wall. This acts as an adhesive, securing the brick veneer in place. Use a trowel to spread a thin, even layer of mortar onto the wall, working in small sections to prevent the mortar from drying out before you can apply the veneer.
Once the mortar is applied, you can start installing the brick veneer. Start at the bottom of the wall and work your way up, pressing each brick firmly into the mortar. Be sure to leave a small gap between each brick to allow for the application of grout later on.
As you work, use a level to ensure that the bricks are straight and even. If a brick isn’t level, you can adjust it by adding or removing mortar as needed. Remember, it’s important to work slowly and carefully to ensure a professional-looking result.
After all the bricks are installed, you’ll need to apply grout to the gaps between them. This not only enhances the look of the brick veneer, but also helps to secure the bricks in place. Use a grout bag to apply the grout, then smooth it out with a grout tool or your finger.
Finally, once the grout has dried, you can seal the brick veneer to protect it from moisture and other potential damage. Apply a brick sealer according to the manufacturer’s instructions, making sure to cover all the bricks and grout lines.
Installing brick veneer can be a rewarding project that adds character and charm to your home. With careful preparation, attention to detail, and a bit of patience, you can create a beautiful, rustic look that will stand the test of time. Whether you’re updating a fireplace, creating a feature wall, or adding curb appeal to your home’s exterior, brick veneer is a versatile and attractive option.
In conclusion, brick veneer installation is a process that requires careful planning and execution. However, the end result is a beautiful, rustic look that can transform any space. With the right tools and a bit of patience, you can install brick veneer in your home and enjoy the timeless beauty of brick for years to come.